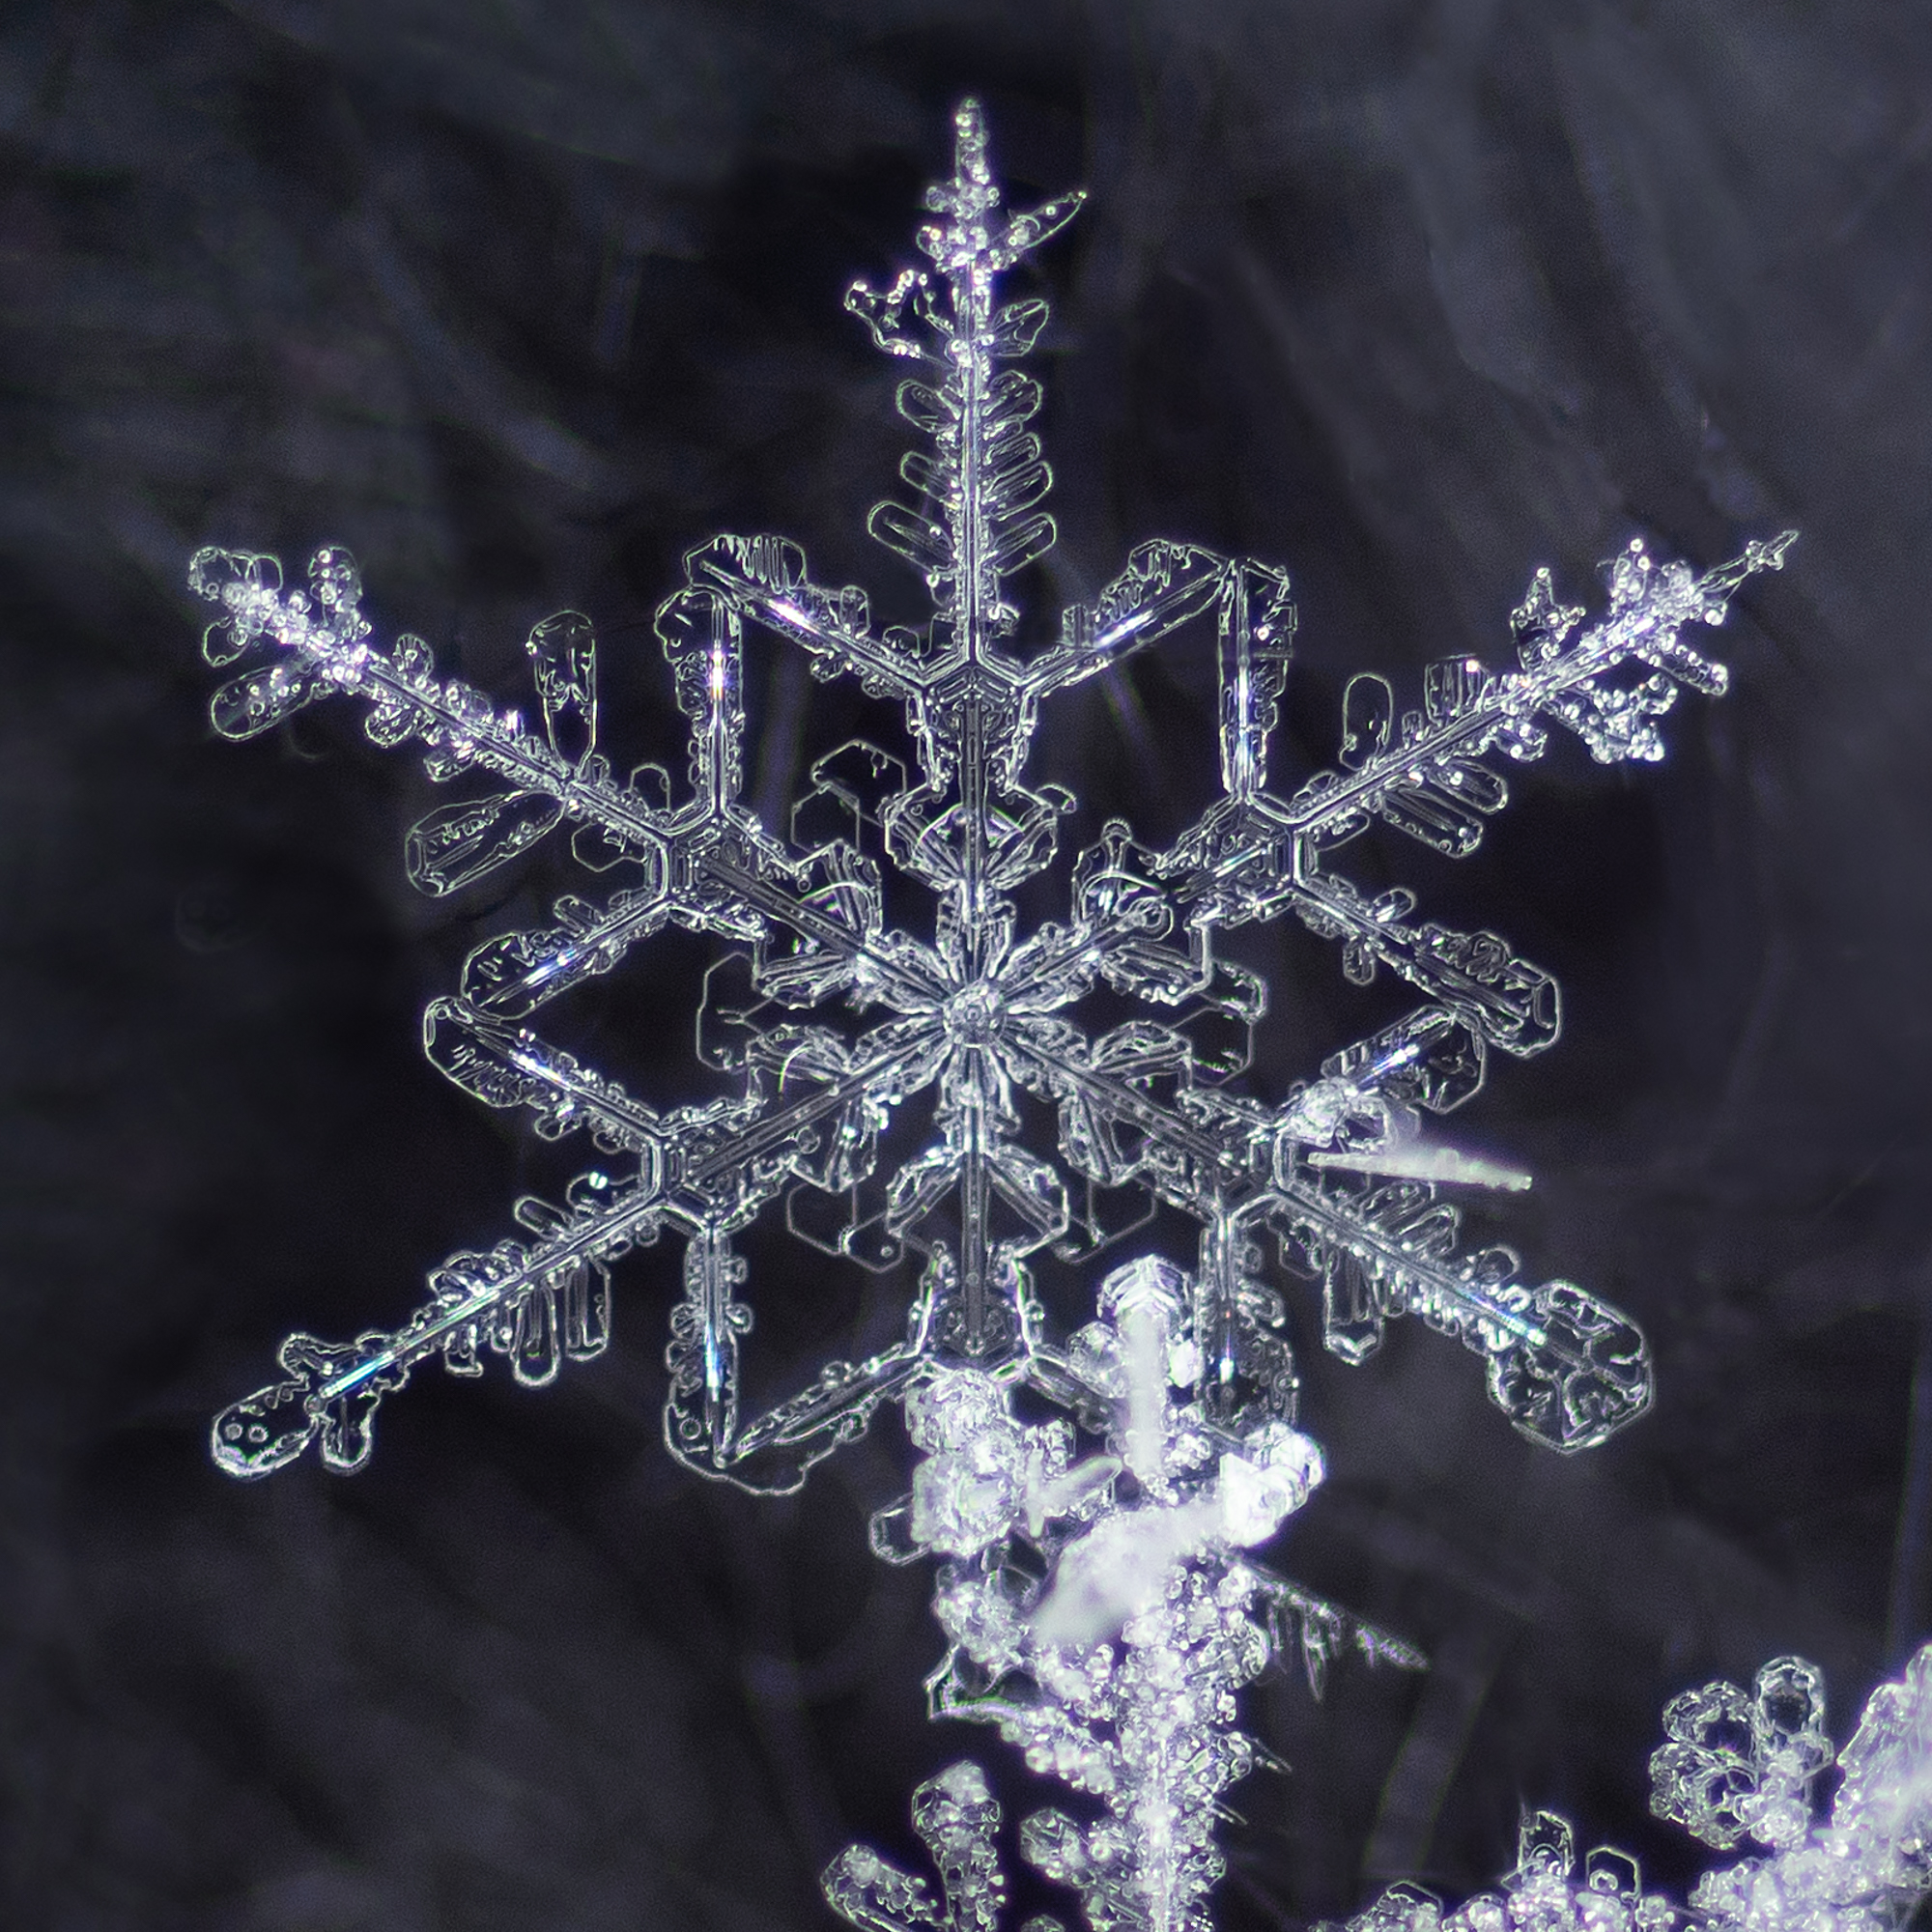
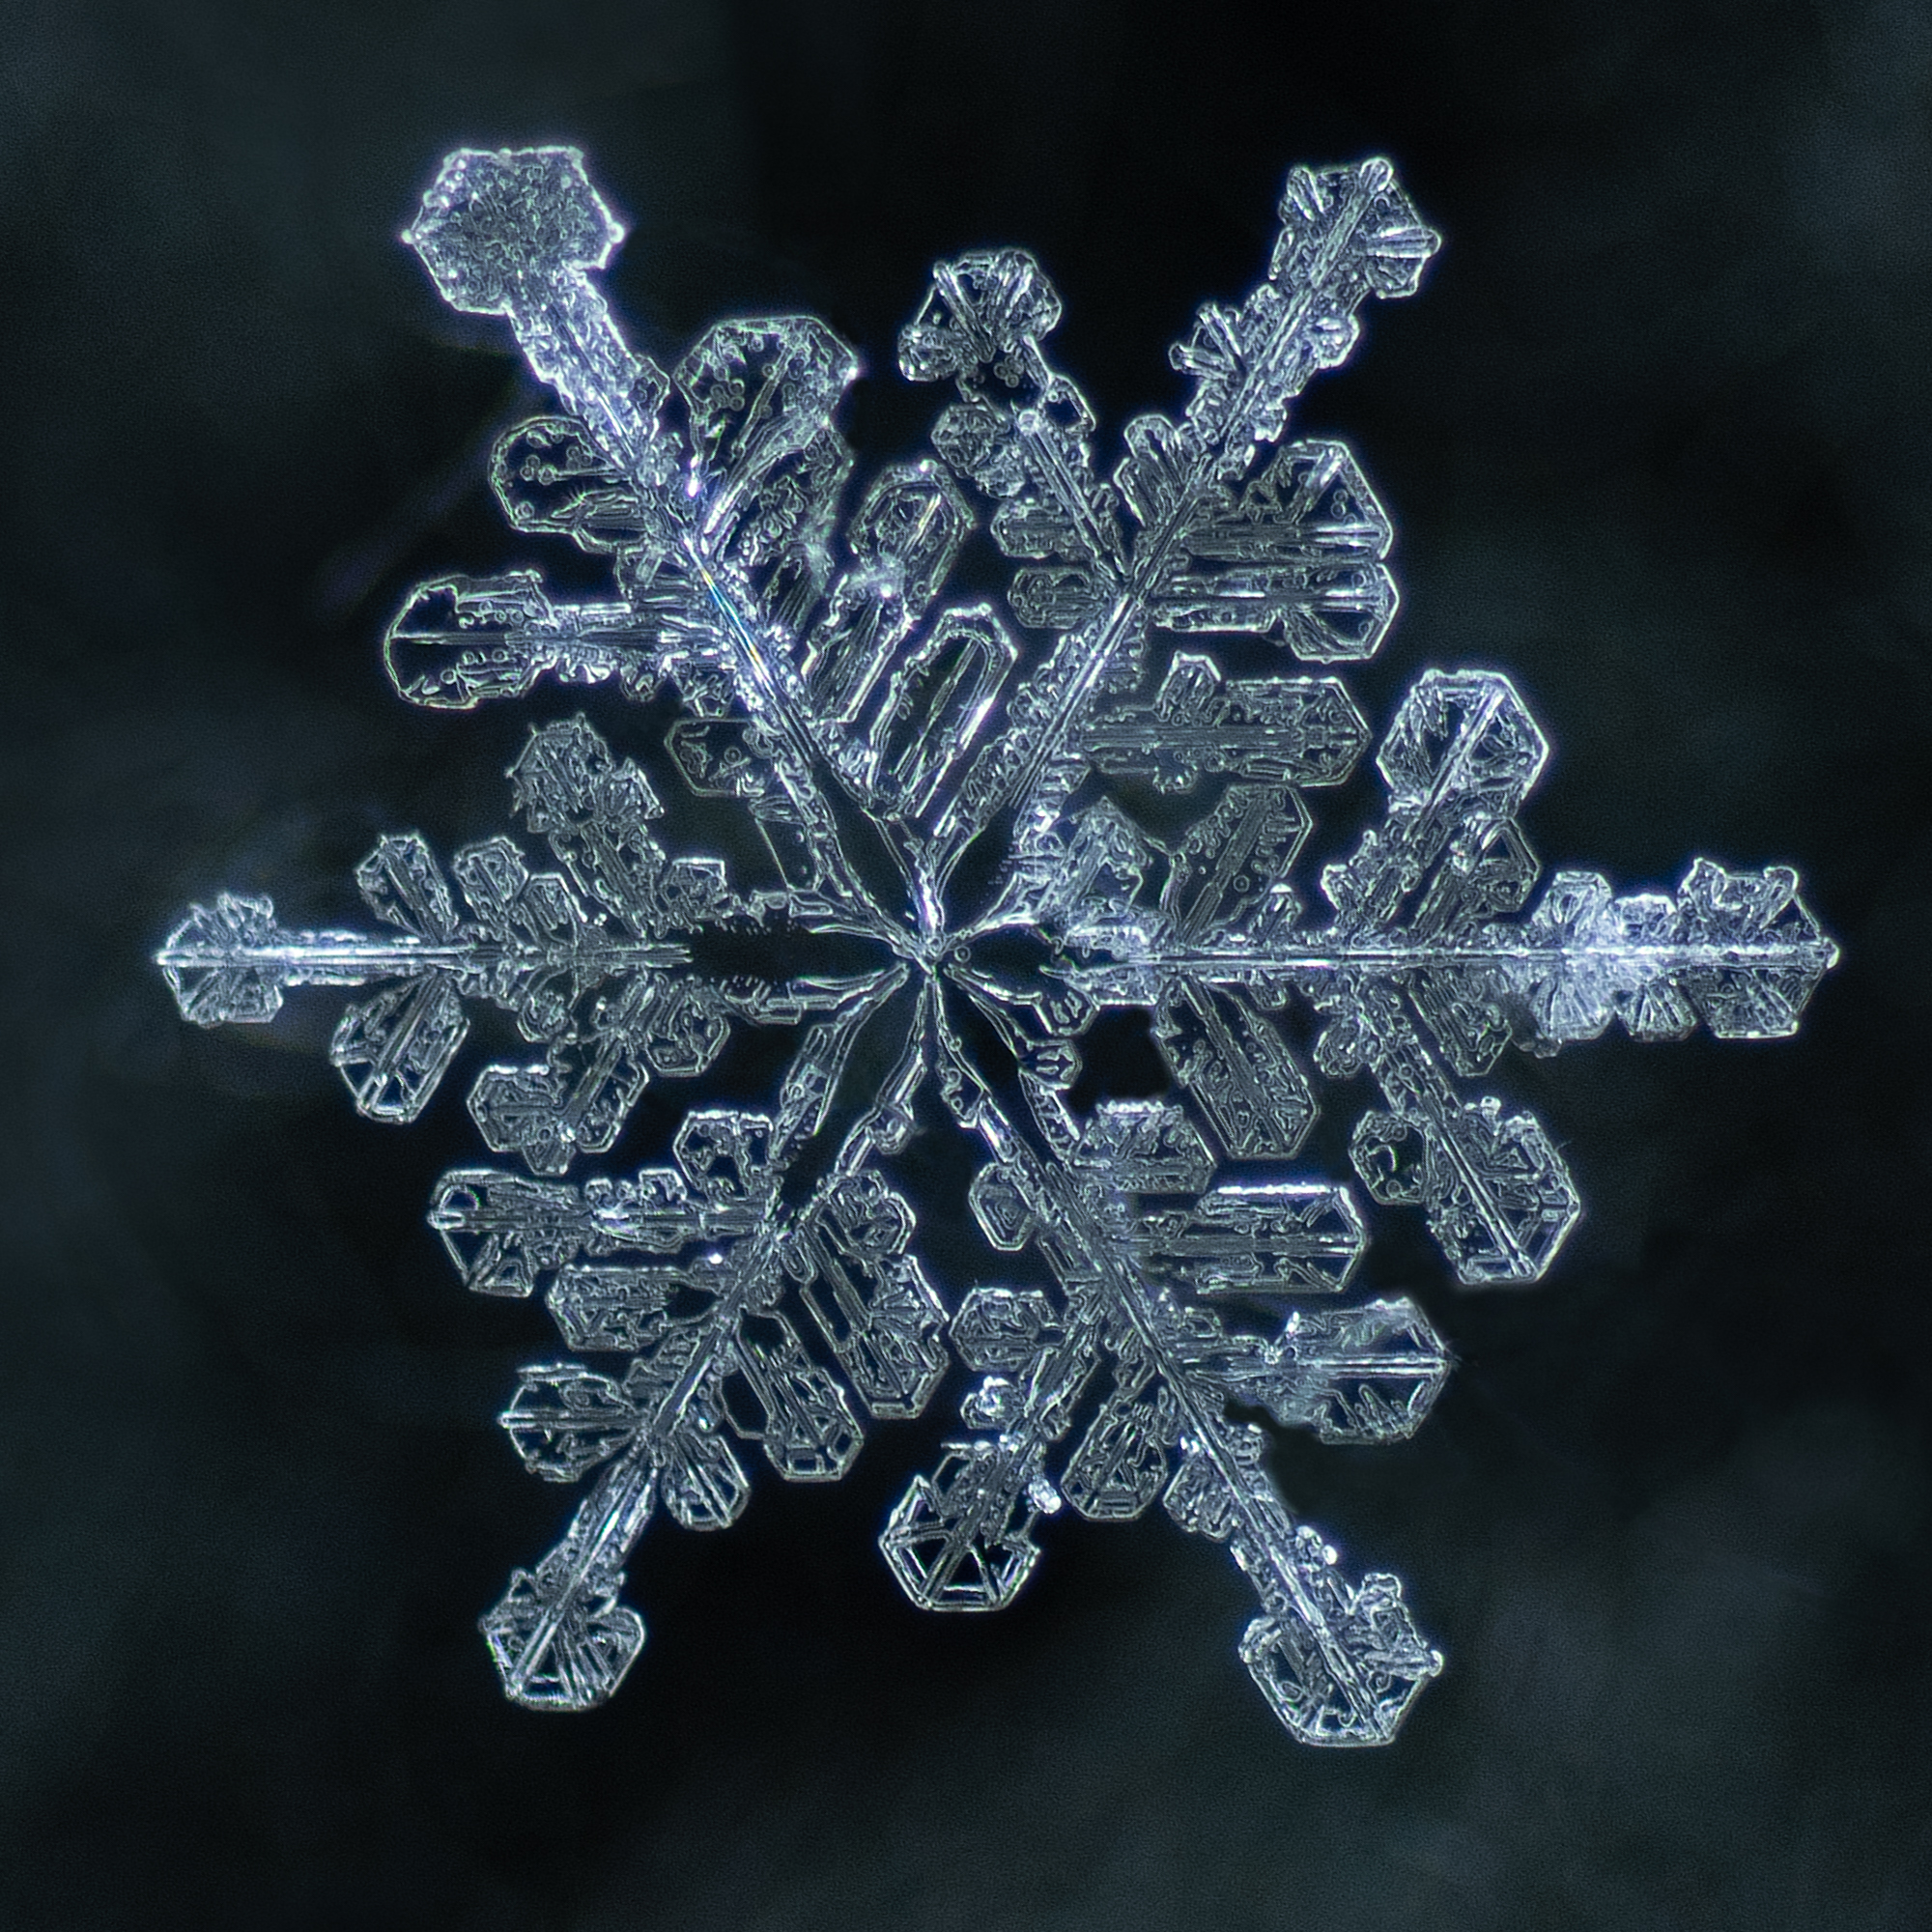
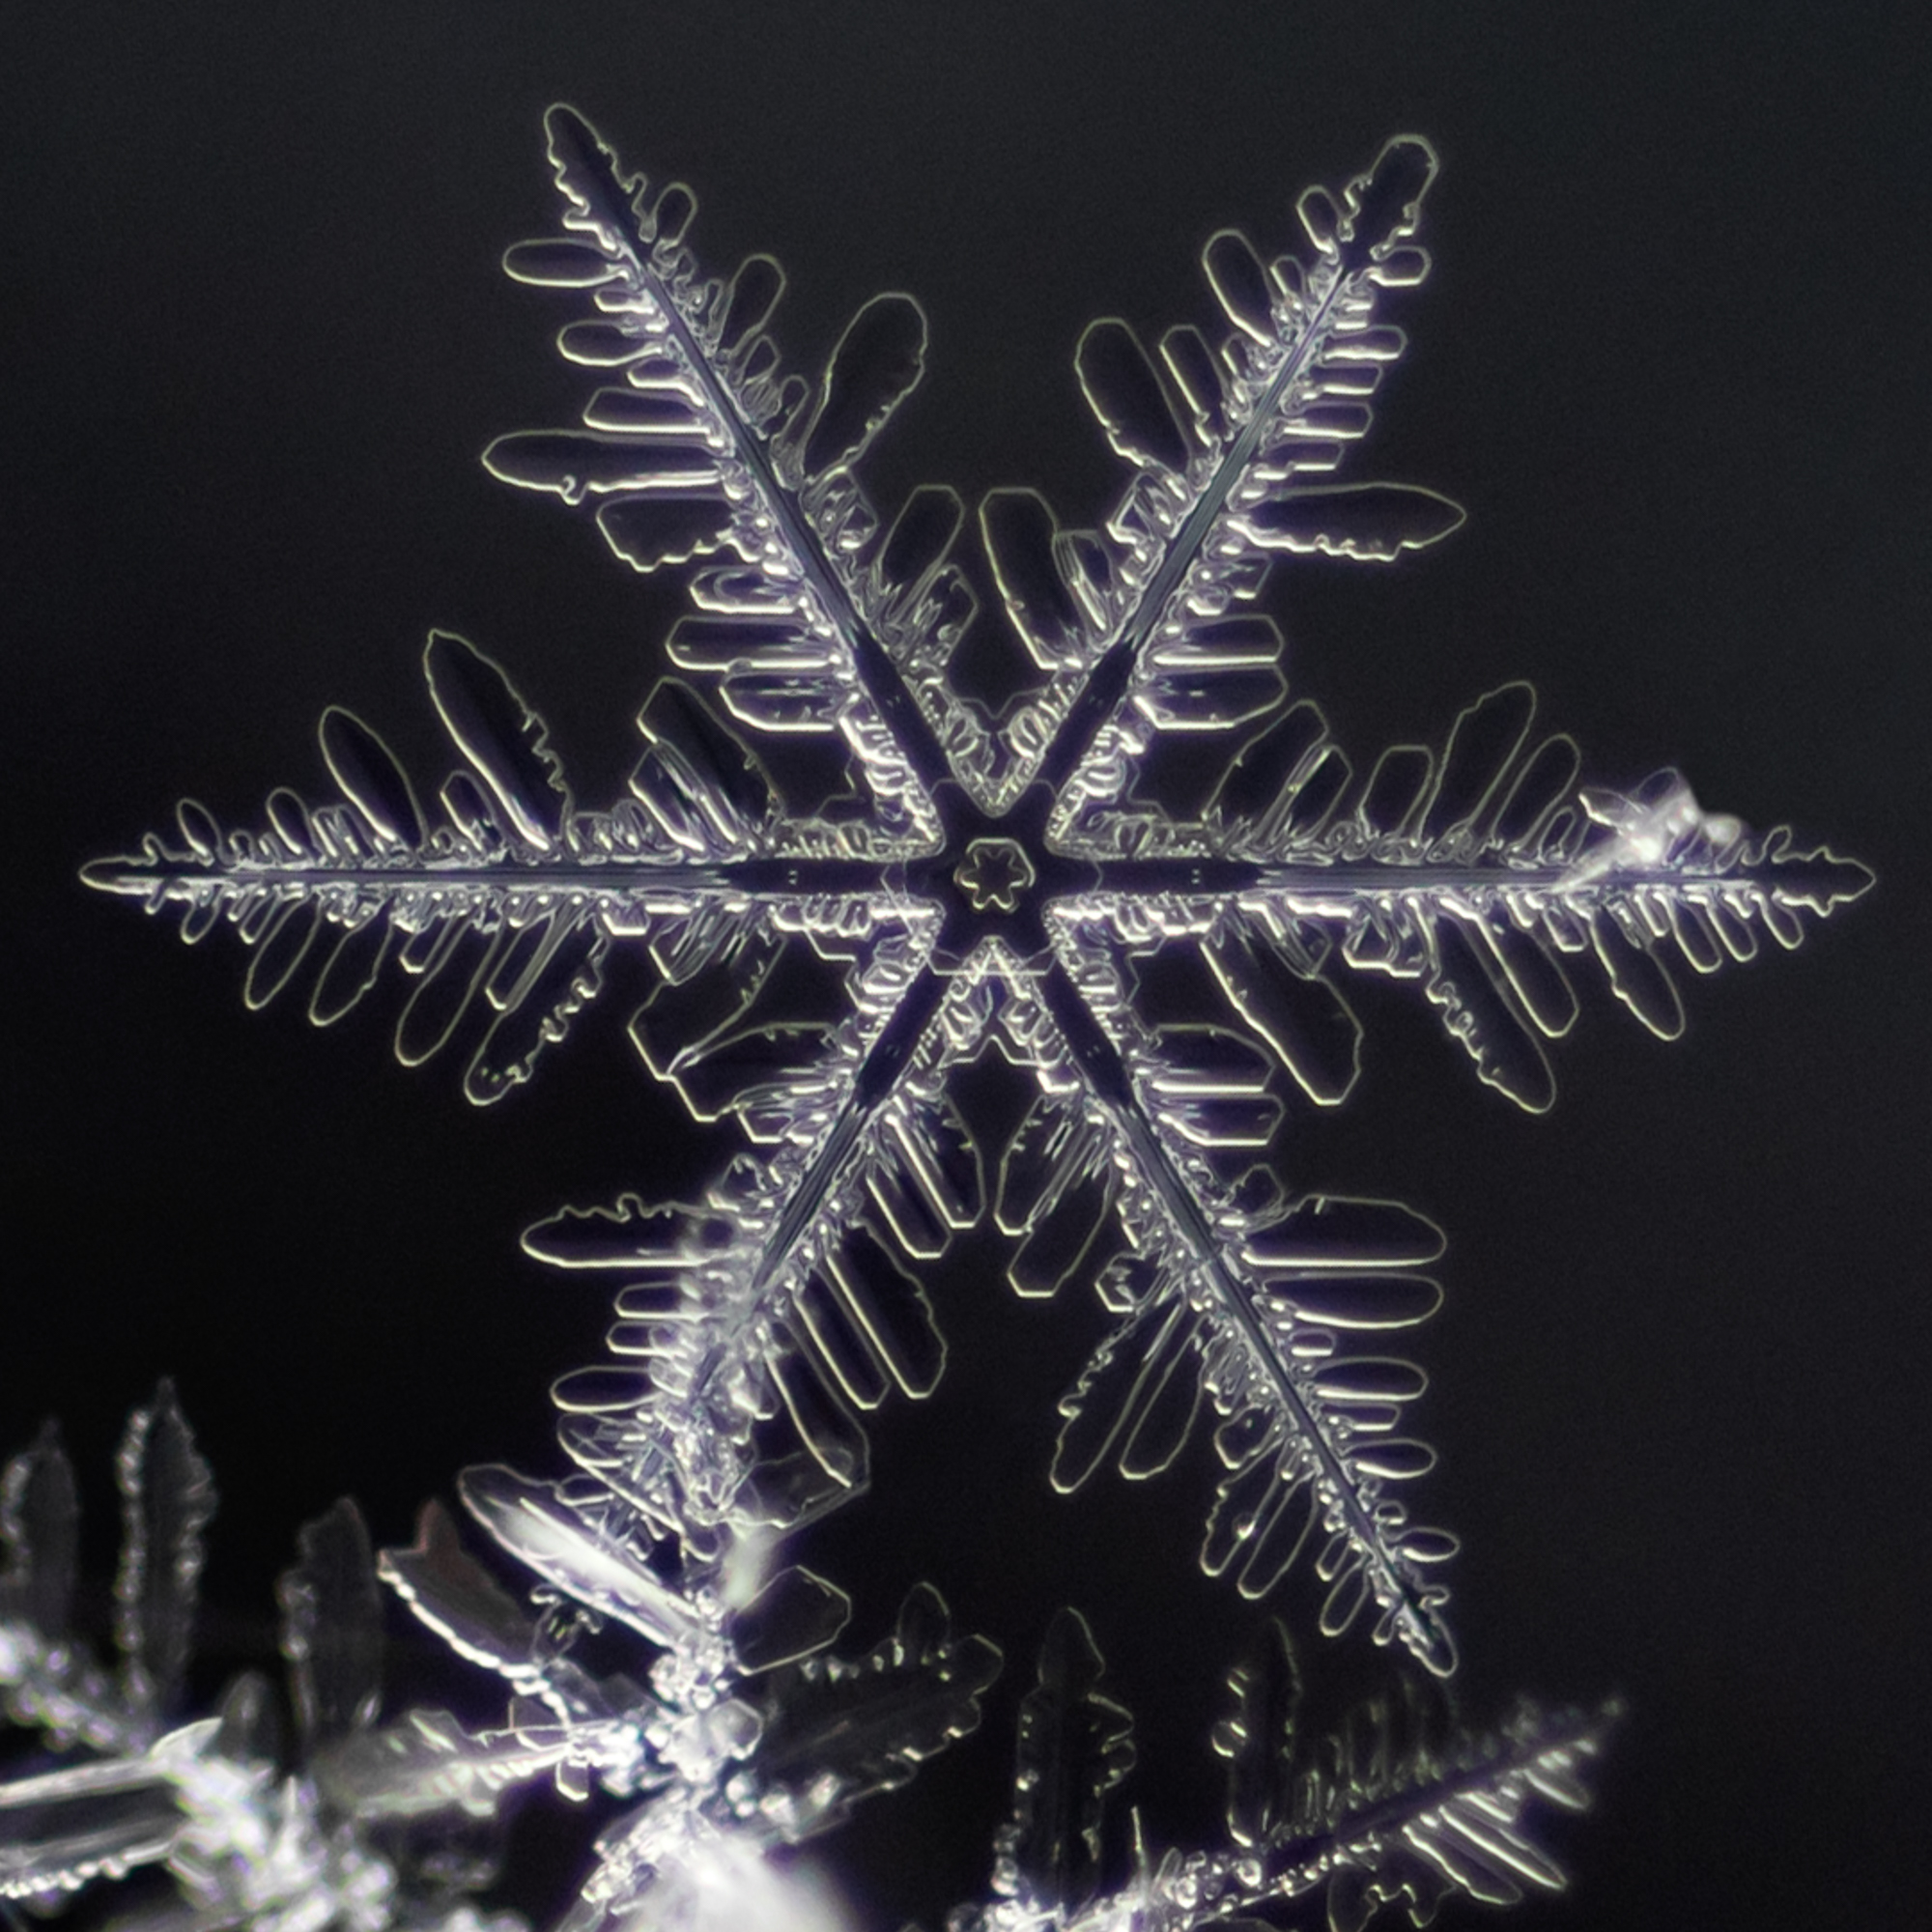
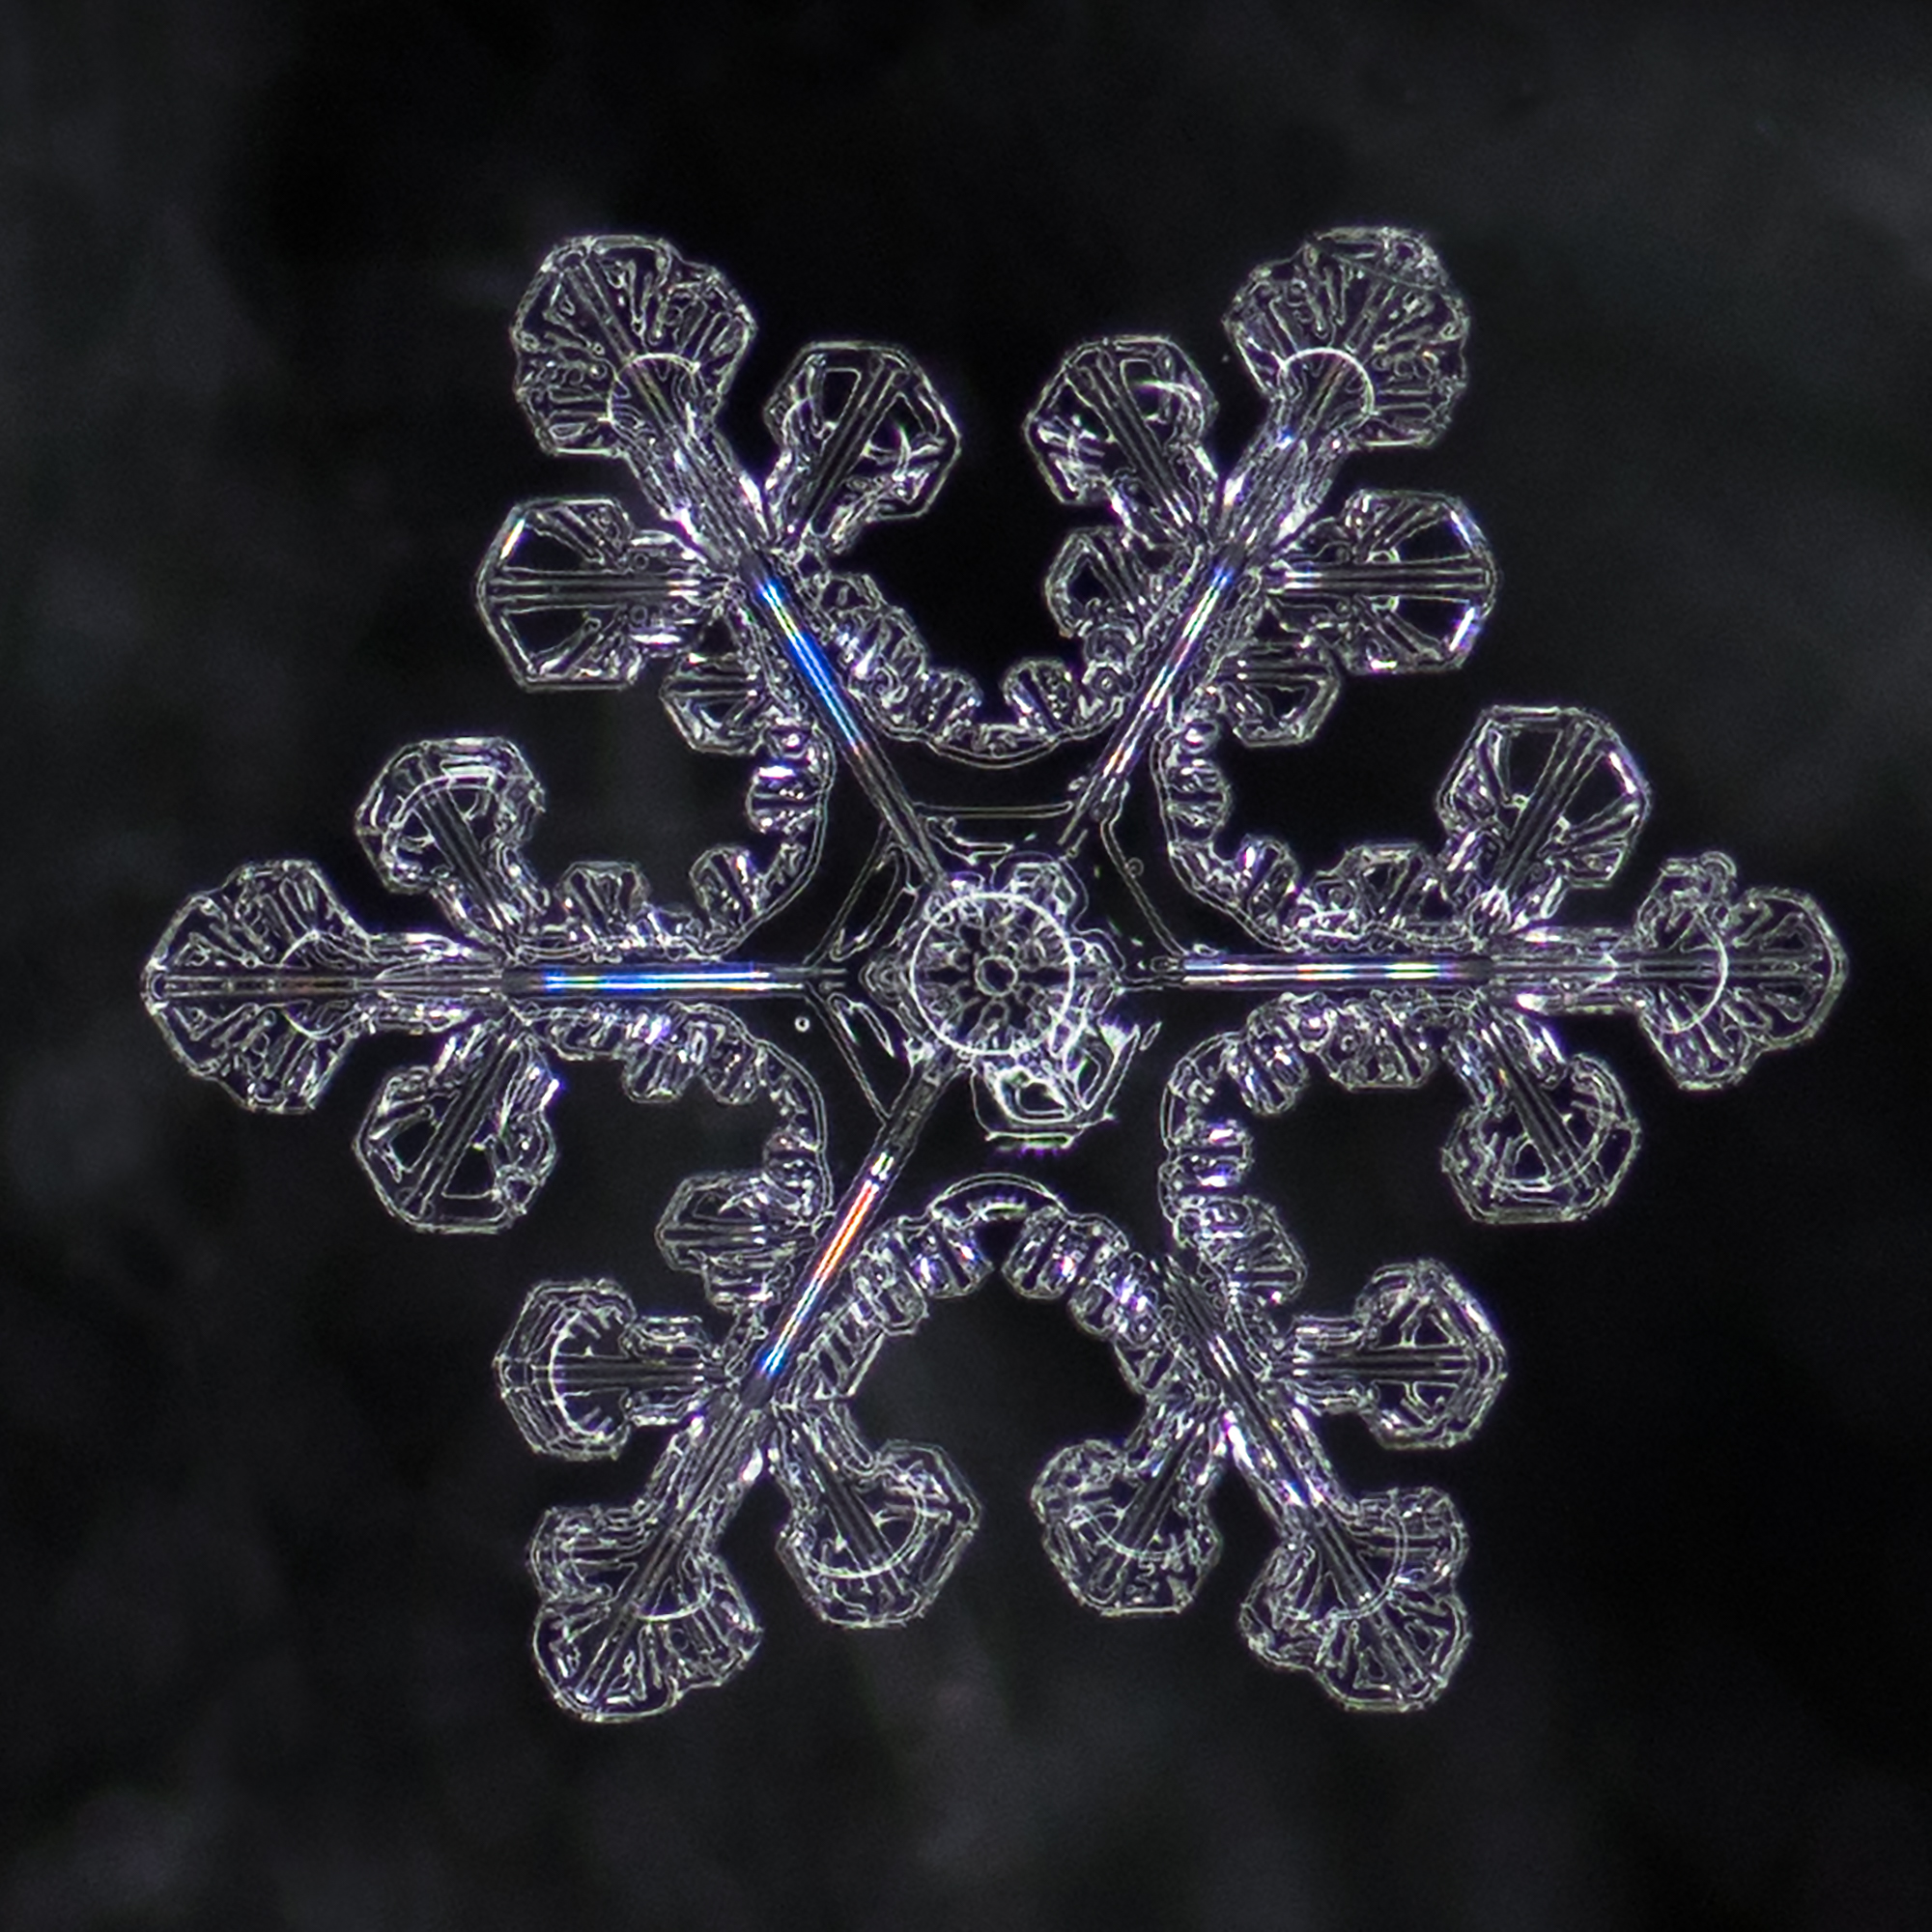
Tiny snowflakes have always evoked big questions. Descartes marveled at the intricate details observable to the naked eye, which led to advances in the application of mathematics to the natural world. Johannes Kepler found snowflakes compelling enough to take a break from his groundbreaking work in astronomy to speculate about the hidden laws of nature that mysteriously weave such complex creations. With the help of innovations like X-ray crystallography and scientific labs dedicated to growing the little crystals, most of the big questions about snowflakes have been answered. We now know about the six-sided connections of oxygen and hydrogen atoms in water molecules that express themselves in the hexagonal shape of snowflakes. We know that temperatures, humidity levels, and fluctuations in those conditions in the sky lead to the variations of what we see flutter to earth.
We may know all those scientific details, but big questions remain. Why do they universally provoke awe and wonder when we take a closer look? Why do we always smile with delight when a folded piece of paper, that’s been cut to pieces, is opened up to reveal a snowflake pattern? How could something so common, with over 1 septillion (24 zeroes) in the U.S. every year, be so unique, with no two exactly alike? These mysteries remain, which is why the tradition of “snowflake watching,” as Kenneth Librecht calls it, continues to this day. (You can read Librecht’s detailed history in his book, The Snowflake, Winter’s Secret Beauty.)
Wilson Bentley at work
Wilson Bentley is perhaps the most famous snowflake watcher. As a teenager he developed a passion that led him to take the first photograph of a snowflake in 1885. He spent his whole life capturing these images on glass plates from his farmhouse in Jericho, Vermont, which culminated in the publication of his book, Snow Crystals, in 1931. He wasn’t a famous philosopher or PhD in physics, just a farmer filled with fascination for one of the great earthly wonders.
While Bentley’s pursuit required him to invent machinery and innovate techniques, today snowflake photography is accessible to just about anyone with a digital camera. A few years ago, I took a closer look myself, and became enchanted with the extravagant beauty of snowflakes, and slightly obsessed with learning to photograph them. There are many others who have perfected the practice, but here’s a description of what I’ve learned. Hopefully this will help all the other snowflake watchers out there, who want to take a deeper dive into the tiny world of snow crystals.
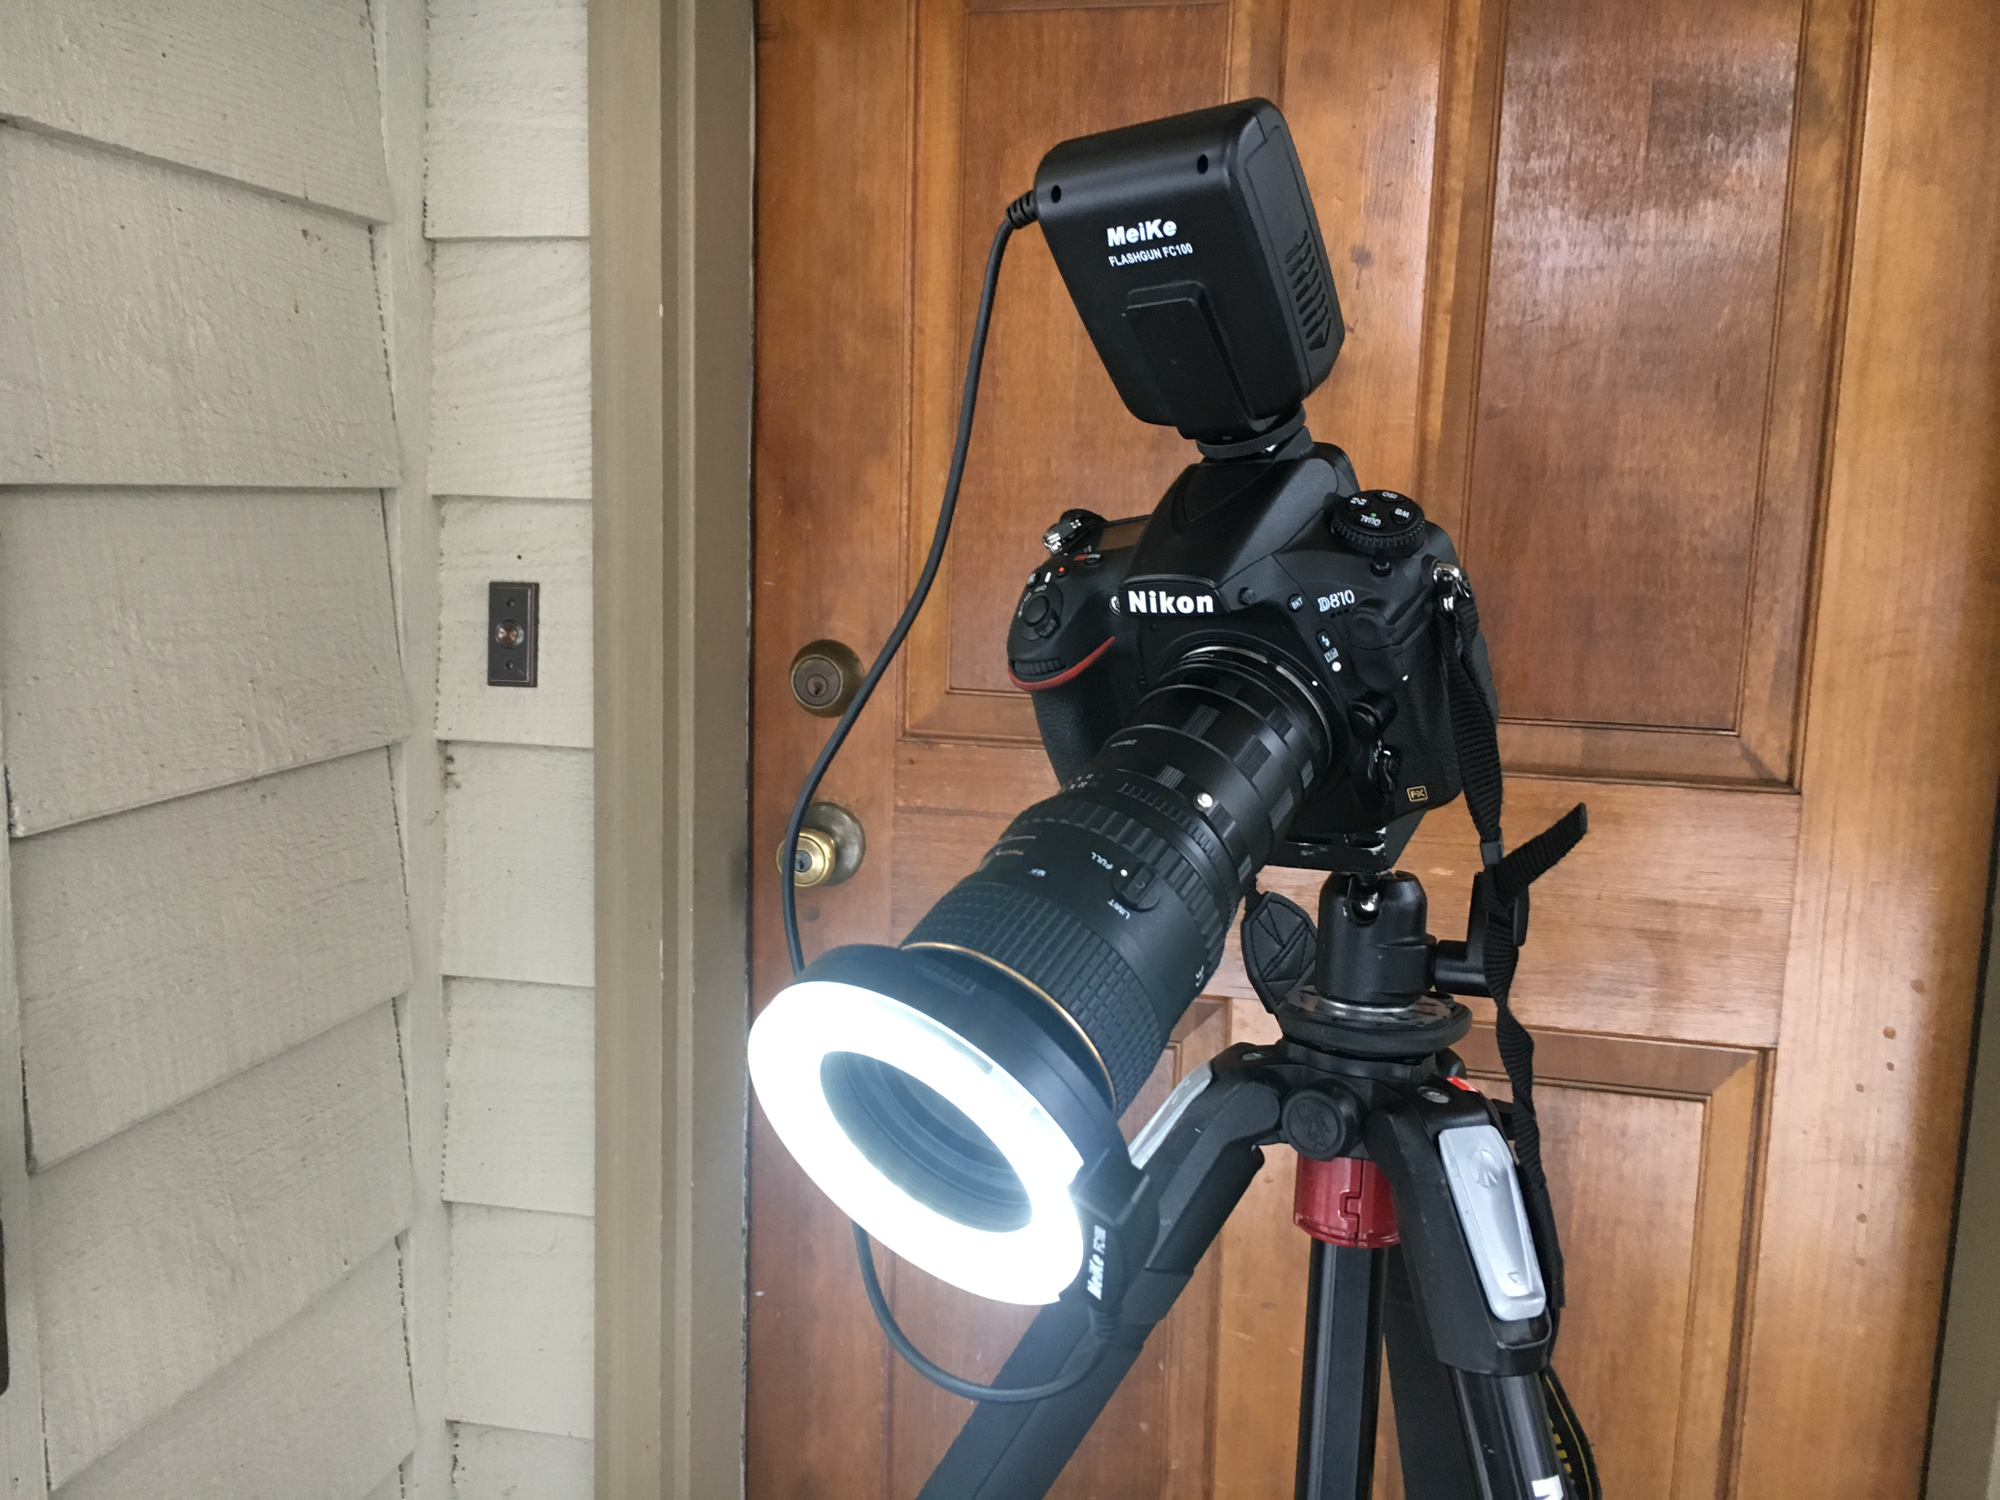
The Equipment for Snowflake Photography
I use a Nikon DSLR camera. I’ve used different camera bodies through the years, but any digital camera should do the trick. An entry level Nikon D3500 is a good place to start for under $400.
The more consequential component is the lens. It’s important to have a lens that has a close focus distance, which is position the front of the lens can get to the subject, and be able to focus on the subject. I use a Tokina 100mm macro lens, which is available as for Canon and Nikon, and is relatively inexpensive at around $350.
I also use what’s called an extension tube, which goes between the camera body and the lens, magnifying the image projected onto the sensor of the camera. You can find some that will meter with the camera body, and allow you to set the aperture in camera. I’m cheap, so I use the $10 special by Fotodix, which means I set the aperture on the lens. If you go this route, you’ll want to make sure your lens has manual aperture settings.
Another helpful piece of gear for snowflake photography is a ring flash, which fits on the end of your lens, and provides nice, even light. I’ve tried off-camera flash and flashlights, but the ring light provides the best and most consistent results. You can spend a lot of money on a top-quality ring flash, but I’ve had good luck with a $75 off brand. I use mine in “light mode,” so the light is continually on, to help with focusing, so I recommend getting one that allows a constant light source.
The last essential bit of equipment is a surface on which to catch the snowflakes. I use an old black knit hat. It’s helpful to have something with an uneven surface that will hold the snowflake up above its surroundings, which will make for a better background. No need to buy this. I suggest looking around your laundry room, probably in the back corner of a closet, or under the dryer. You’re likely to find the perfect snowflake catcher next to all the lost socks.
Here’s what my set up looks like.
Techniques for Snowflake Photography
I’ve found that the colder it is, the better specimens you’ll find, and the less likely they are to melt as you anxiously to try to get them in focus. When the conditions are right, I stand on the steps of our porch and hold out my trusty black hat, like an offering plate awaiting wintry treasures. Be aware that you may get strange looks from neighbors as they shovel their driveways. Just smile and remember that you stand in the proud tradition of snowflake eccentrics around the world.
I inspect the offerings until I see something that looks interesting to the naked eye, usually an individual flake that isn’t tangled up with others. I place my hat strategically on the porch, where it’s cold and protected from the snowfall, and do my best to situate the camera lens so that it is parallel to the surface of the snowflake. This is key for getting the whole snowflake in focus. Some people use precision equipment that allows for stacking multiple images, with different focus points to get the whole flake in focus, but I’ve never had much luck with that, so I do my best to get it all in one single exposure.
Here’s what it looks like in action.
Camera Settings for Snowflake Photography
I get the snowflake in focus, as best I can, through the viewfinder, and then I turn on the Live View mode, which allows me to see the snowflake on the back screen of the camera. I use the “+” button, to enlarge it on the screen, and fine-tune the focus. At this point I click the shutter, which I have in shutter-delay mode, so that their is not shake in the camera when the shutter clicks. A remote shutter release would also work nicely.
The camera settings for most of my snowflake images are around 1/100 of a second shutter speed, ISO 400, and an aperture of f8. These settings seem to provide a nice balance of depth of field and image clarity. Try not to overexpose, and lose detail in the highlights.
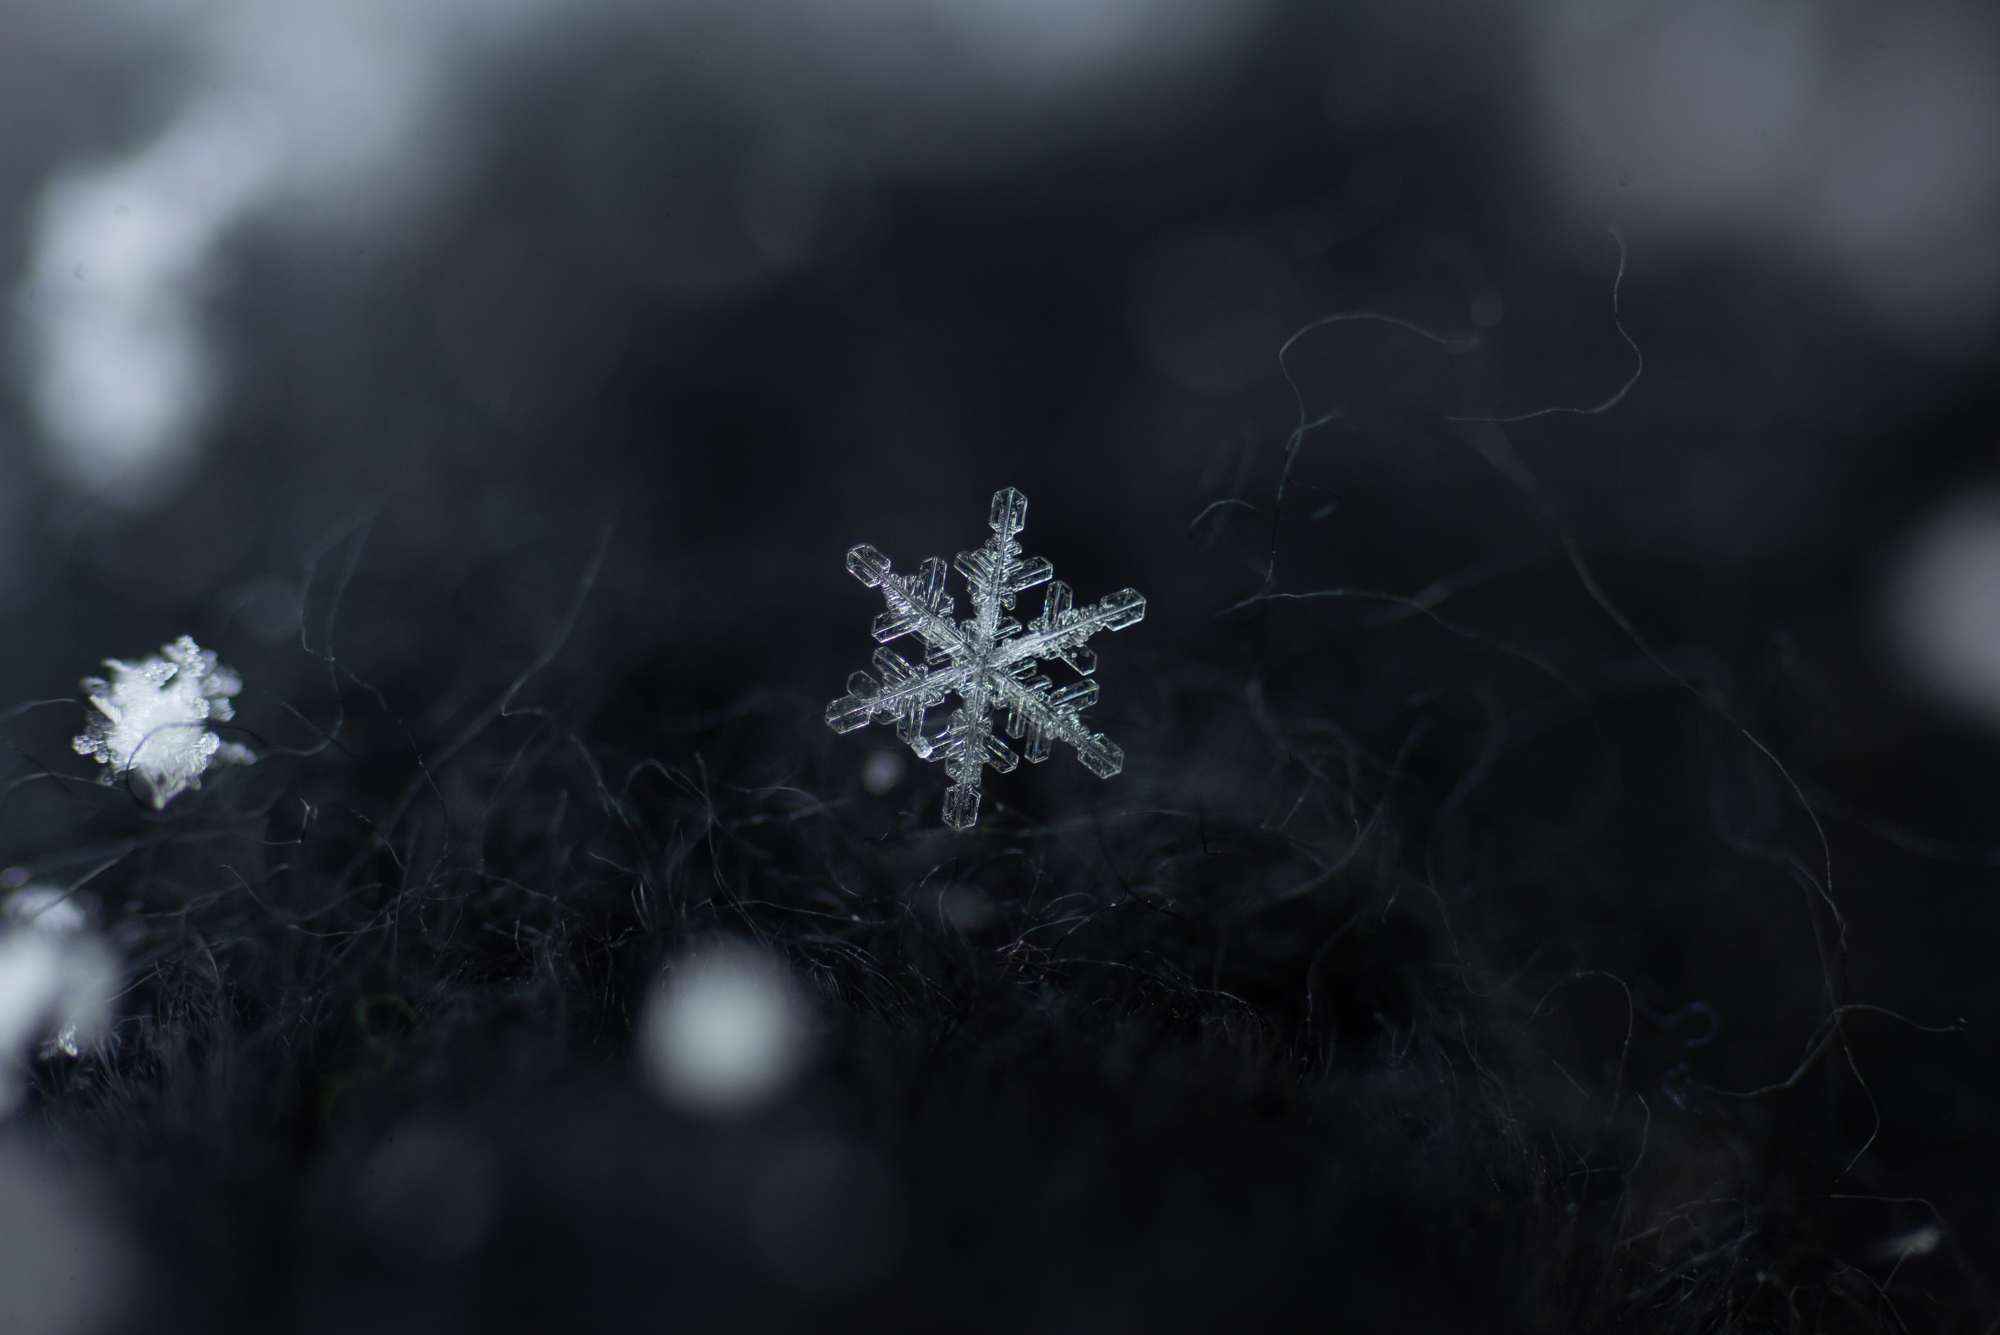
Here’s what one of the images looks like before cropping and post processing.
Post-Processing for Snowflake Photography
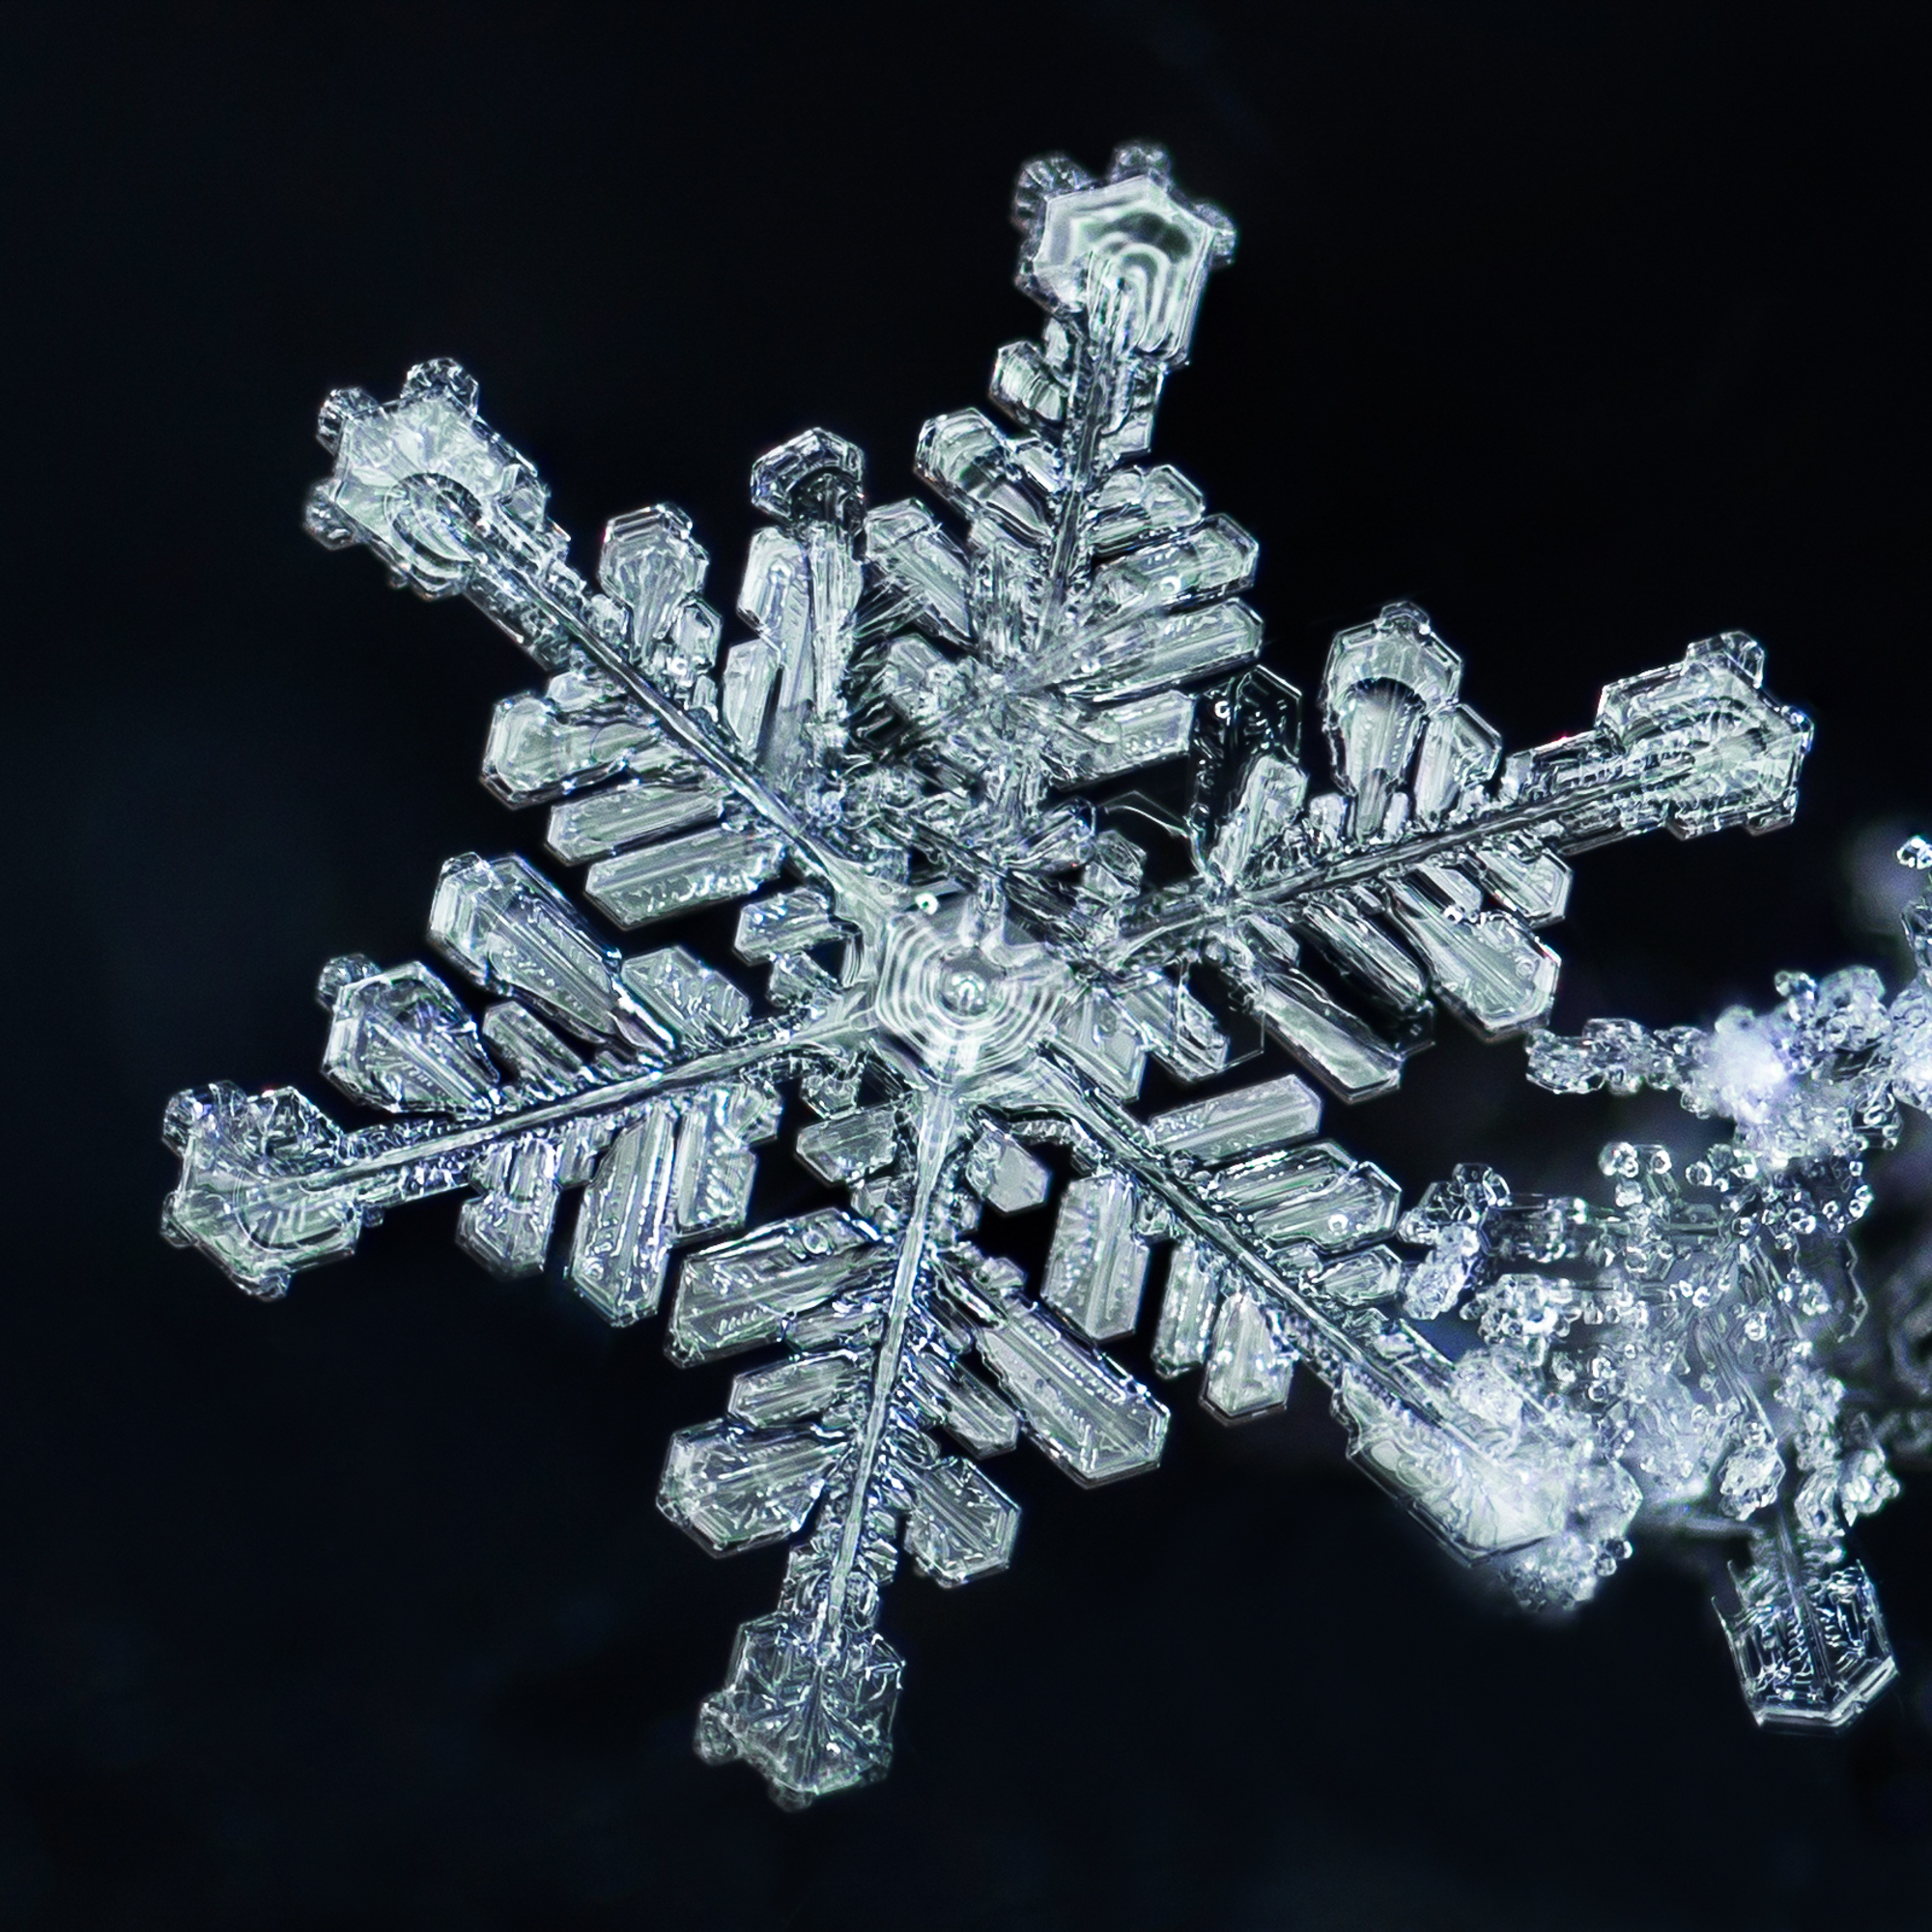
I set the white and black points in Lightroom and make sure to click the “Remove Chromatic Aberration” button, to get rid of any purple fringing. I used Photoshop to do some simple cloning to clean up the background, add a touch of sharpening, and rotate to crop in a way that pleases my eye. Here’s what the above image looks like after post-processing.
So that’s what works for me. It never gets old to explore the world of these little works of art, and I still find myself asking big questions about beauty and nature and delight, when I see them through the viewfinder of my camera.
You can purchase these photos at my online store.

